
My Ram ProMaster Camper Van Build After One Year
A little over a year ago, I finished converting my low-roof 118″ Ram ProMaster into a camper van. It sure is a big upgrade over my old Element setup! Since then, I’ve had plenty of time to use it, travel in it, work from it, and figure out what works. I’ve also figured out what I would change if I were building it again.
In this article, I’m breaking down my Ram ProMaster camper van conversion, including the layout, electrical system, solar setup, bed, kitchen, desk, storage, appliances, and other major components of the build.
I’ll also cover how much the van conversion cost and some of the things I’ve learned after more than a year of using the van. I’ve included links to many of the products and components I used throughout the build, so if you’re planning your own camper conversion, this should give you a good starting point.
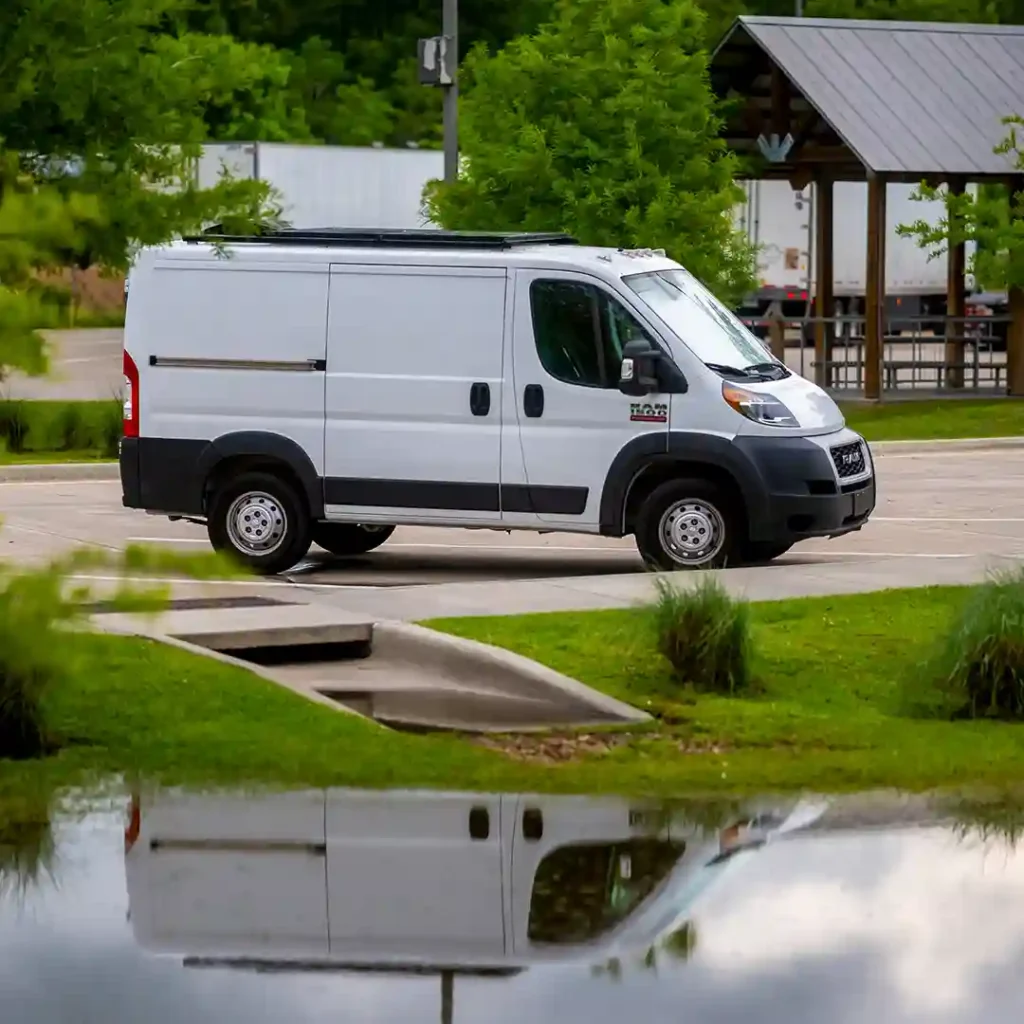
My 118" Low Roof Ram ProMaster Camper Van
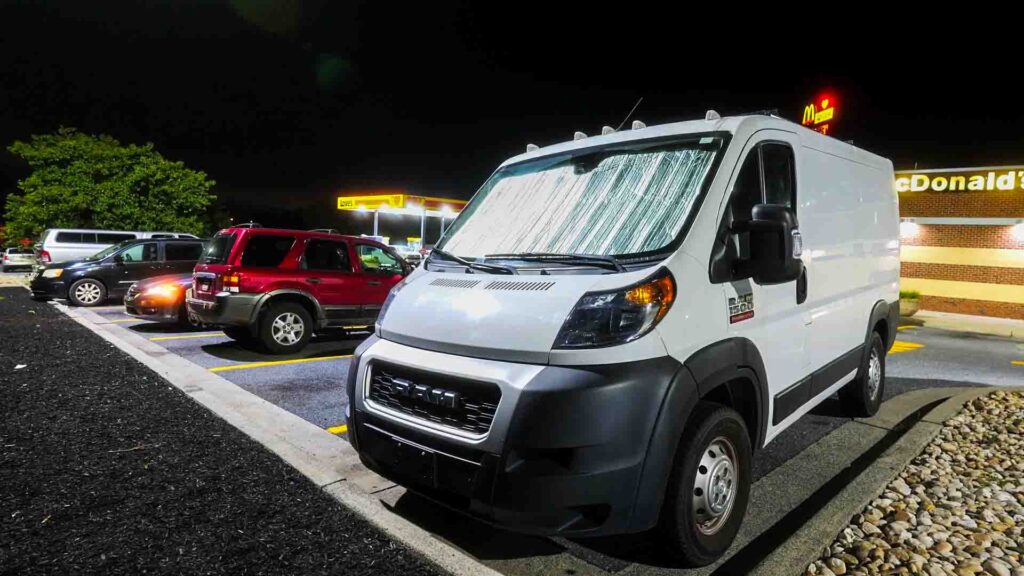
The van is a low roof 118″ Ram ProMaster, which I chose because I wanted something relatively compact and maneuverable while still having enough interior space for a comfortable camper van conversion. It’s a 2021 and it had just over 17k miles when I purchased it used in 2025.
The goal wasn’t to build the biggest or most elaborate camper van possible. I wanted a space that would allow me to travel comfortably while still having room to work, sleep, cook, store my gear, and live relatively normally. After a year of actually using the van, I’ve found that the layout works quite well for me. There are definitely things I’d change, but there are also parts of the original build that I wouldn’t touch.
Ram ProMaster Camper Van Layout
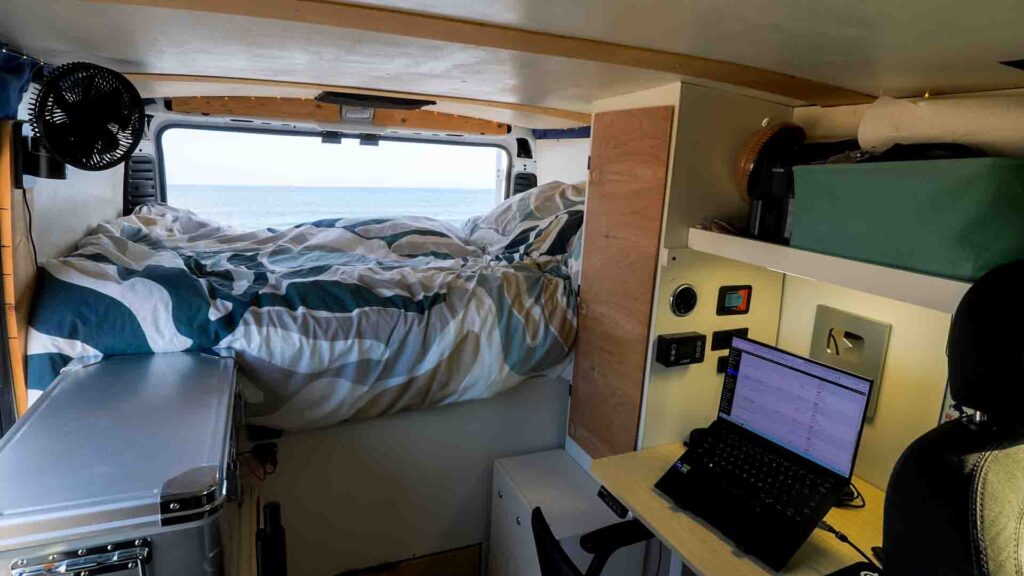
The interior is designed around a few things that are particularly important to me:
- A comfortable bed
- A functional workspace
- Plenty of electrical capacity
- Refrigerator and basic cooking setup
- Storage for clothing and personal gear
- Space for larger items like my guitar, golf clubs, & surfboards
- Solar and DC-DC charging capabilities
- Ventilation and off grid air conditioning
Ram ProMaster Camper Van Electrical System
The electrical system is one of the most important parts of the entire conversion.
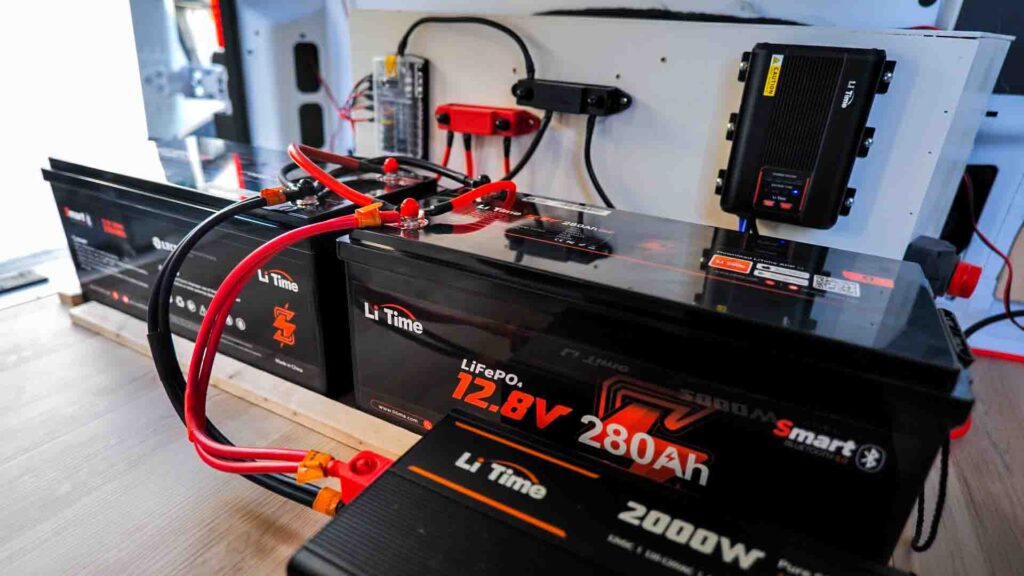
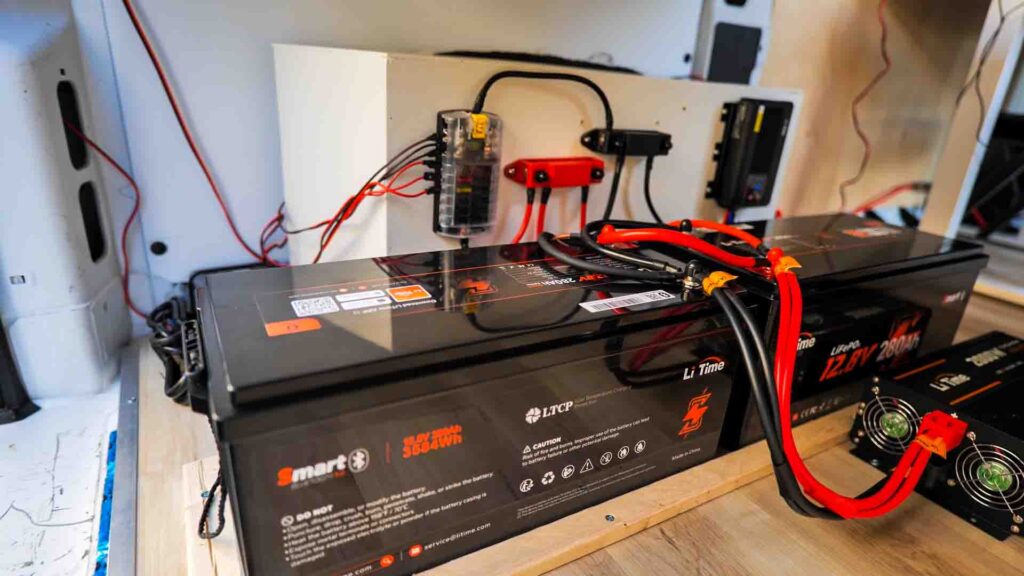
I wanted enough power to comfortably run my laptop, camera equipment, lights, refrigerator, and other electronics without constantly worrying about how much energy I was using. I also wanted to be able to cook and run my air conditioning system entirely off grid.
My electrical system includes:
- 2x 280ah 12v Batteries
- 2000 Watt Inverter
- Solar Panels
- Charge Controller
- Bus Bar
- 12 Volt Fuse Panel
- USB Outlets
- Cut Off Switch
- AC Outlet Extender
The system has 500 watts of solar panels on the roof and a 40 amp DC-DC/ MPPT charge controller. The 250 watt panels I used are no longer available, so I used the available product in the link above.
This setup is enough to keep things charged 90% of the time. The only time I run into trouble is if I am in Florida in the summer and running the AC 24/7. More on the Velit 2000U under bench air conditioner in the next section!
Off Grid Air Conditioner & Camper Van Ventilation
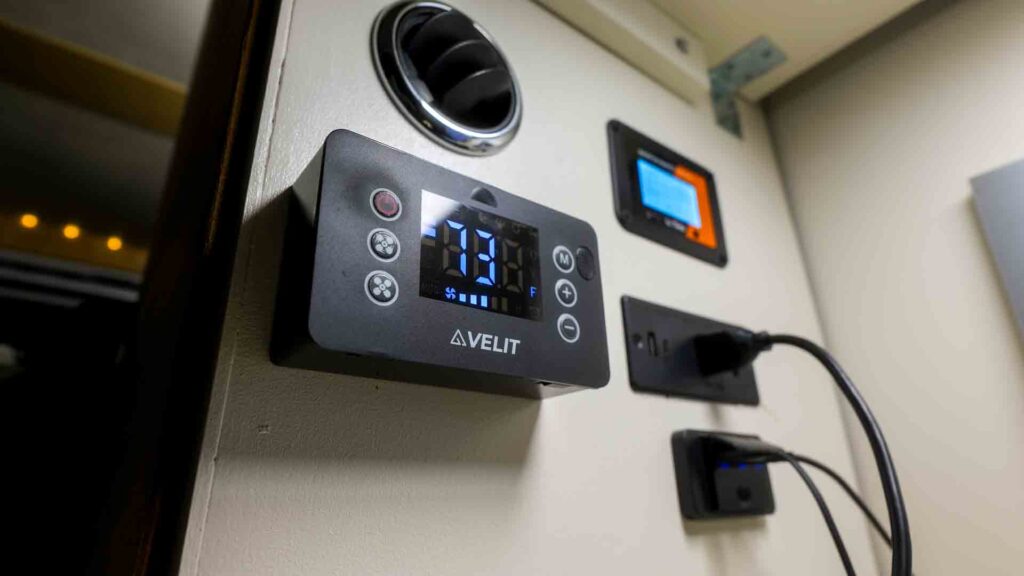
Because I spend a lot of time in Florida, I needed to incoporate an off grid 12 volt air conditioner into this build. I chose the Velit 2000U Under Bench A.C.
The air conditioner works well to cool the space and is extremely efficient. It is a game changer for hot, humid, sticky summer nights in Florida.
My cooling and heating setup includes:
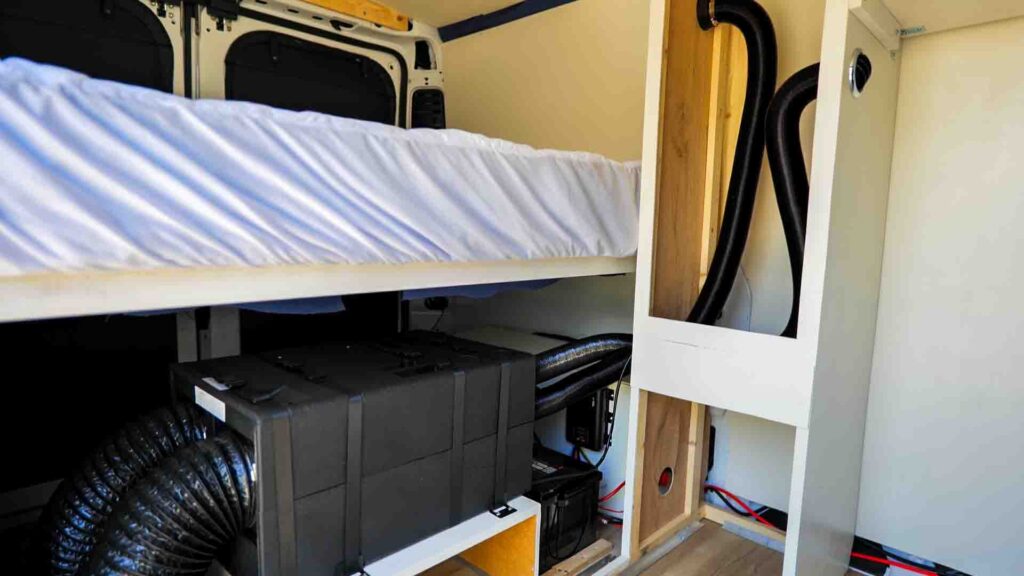
The under bench air conditioner works well to cool the space, but it won’t turn your van into a refrigerator. On hot days when I’m parked in the sun it can sometimes struggle to keep up. I positioned the vent to blow cold air straight onto my desk/ work station. I’m generally able to keep that area cool enough for me, but it can still get pretty toasty during the heat of the day in Florida.
At night the A.C. unit sips power, pulling only around 200 watts and keeping the space comfortable and dehumidified.
Fridge & Cooking Setup
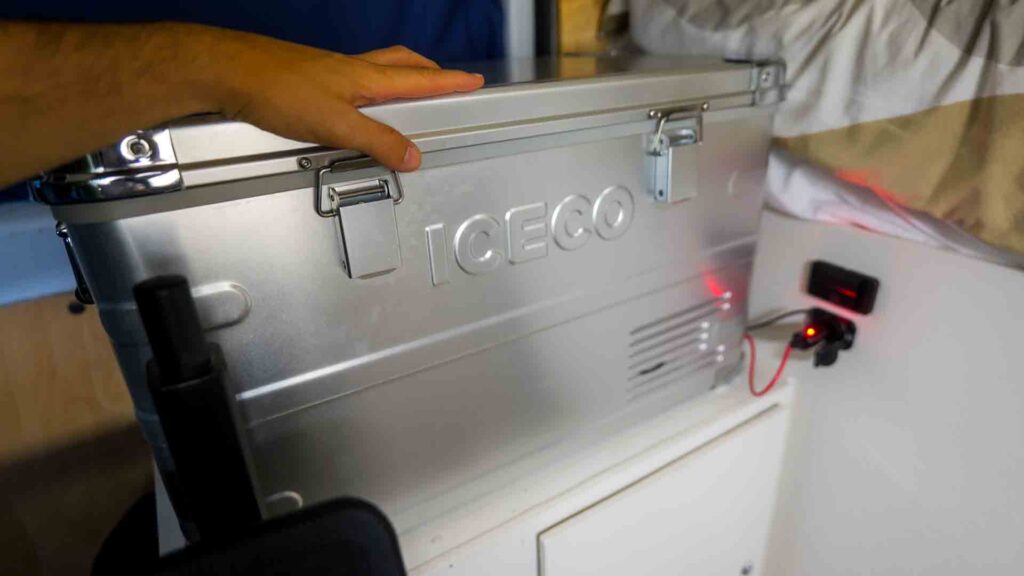
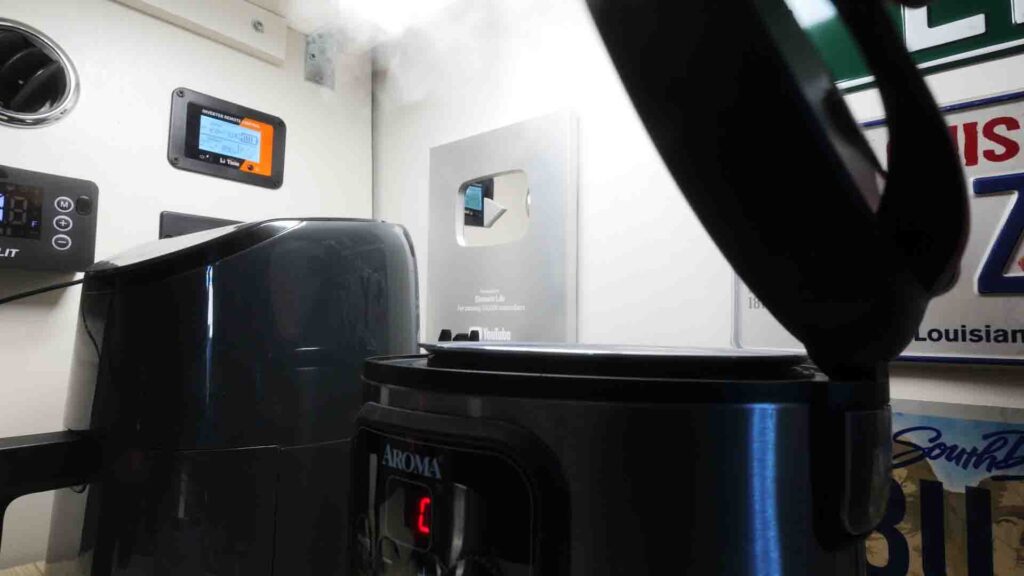
I have an 12 volt chest-style fridge with a dedicated freezer compartment for refrigeration. For cooking, I use my power system to operate an air fryer and a multi-cooker/ rice cooker. These two appliance are perfect for preparing meals in the van and run well on my 2000 watt inverter.
My cooking & refrigeration setup includes:
For water and cleanup, I do NOT have a sink or onboard water tanks in the van. I instead use the liners reference above and alcohol wipes to keep dishes clean. I carry single gallon bottles for drinking water and I have a manual pump 2 gallon shower in the garage area (also linked above).
Desk & Workstation
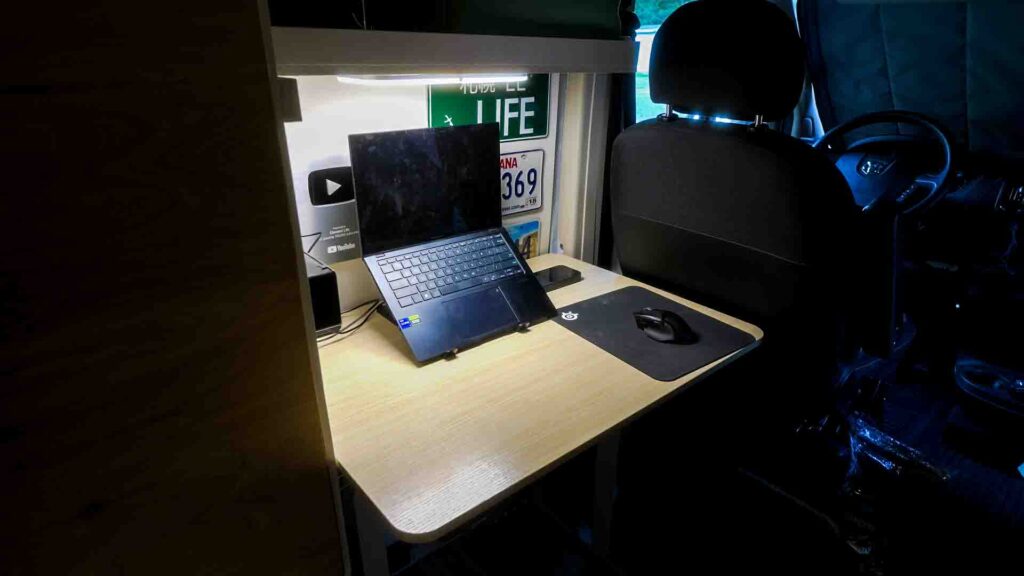
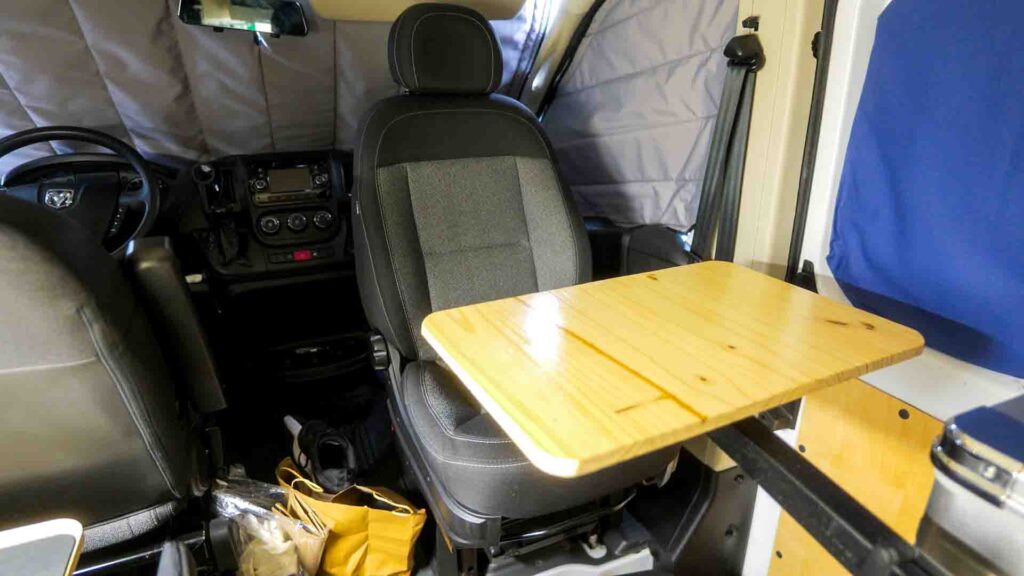
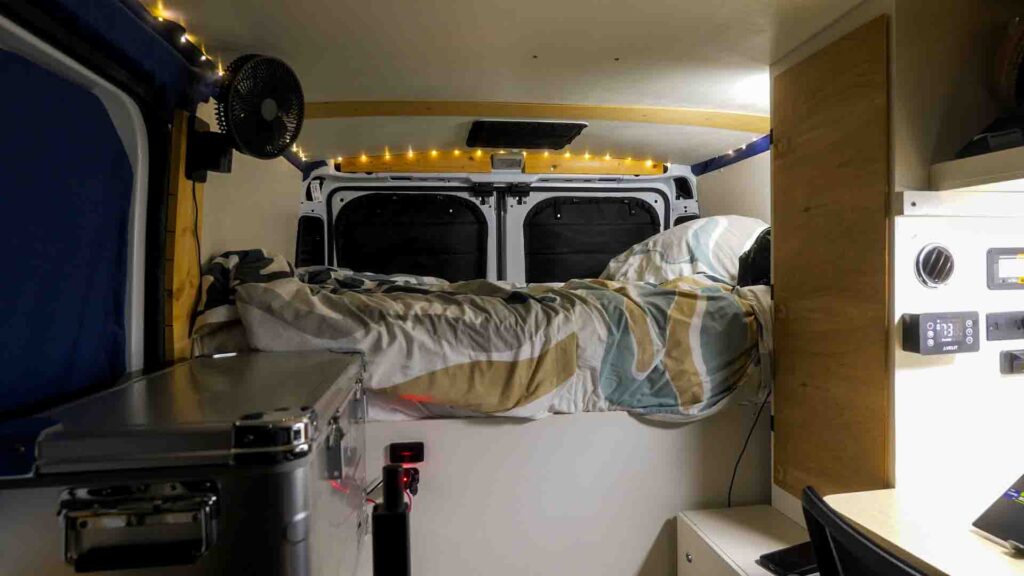
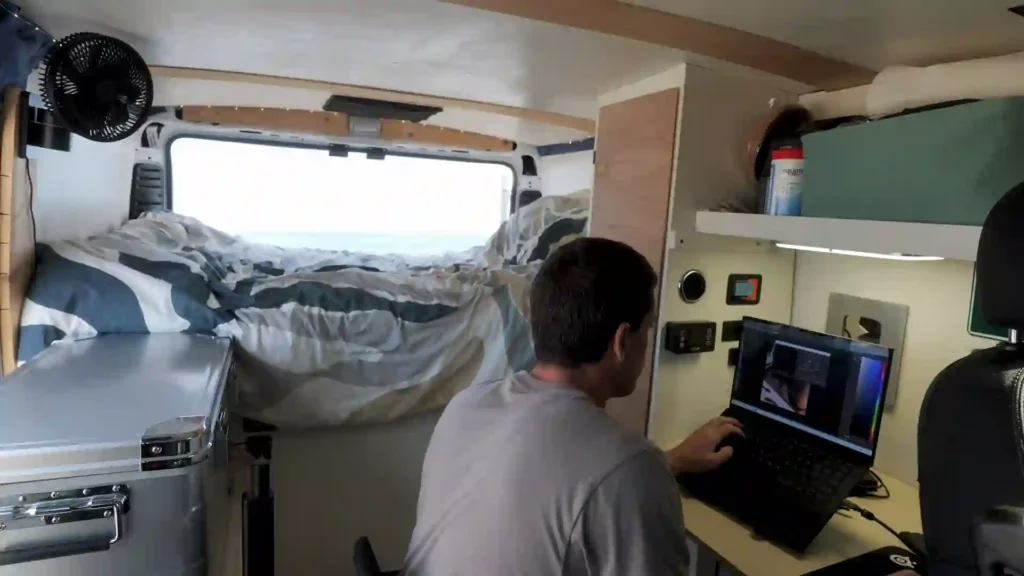
I have two separate workstations in the van at the moment. One is a large standing desk with a folding desk chair. The other is a swivel seat with a Lagun-style table mount. I use both often. It was a priority for me to have a comfortable work space to do my remote job while living in this van!
Desk & workstation setups in the van:
I’m considering updating the large standing desk to a custom-built bench setup. This would allow for increased storage space in the van. It would also create a more open layout and I could add another Lagun-style table to make up for the lack of large standing desk. Because I can’t stand fully in this van, having comfortable seating and desk options is very important!
Platform Bed & Storage
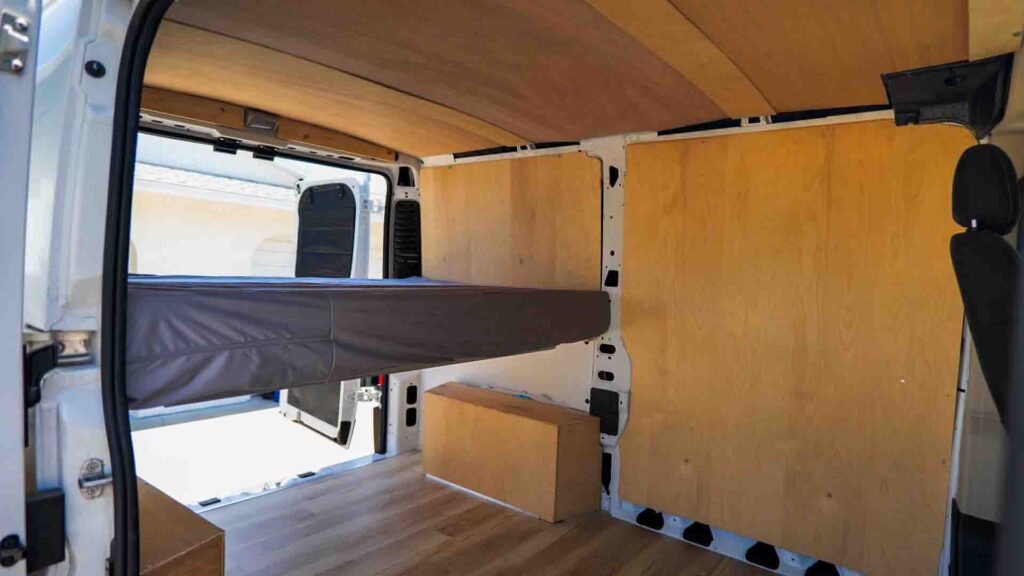
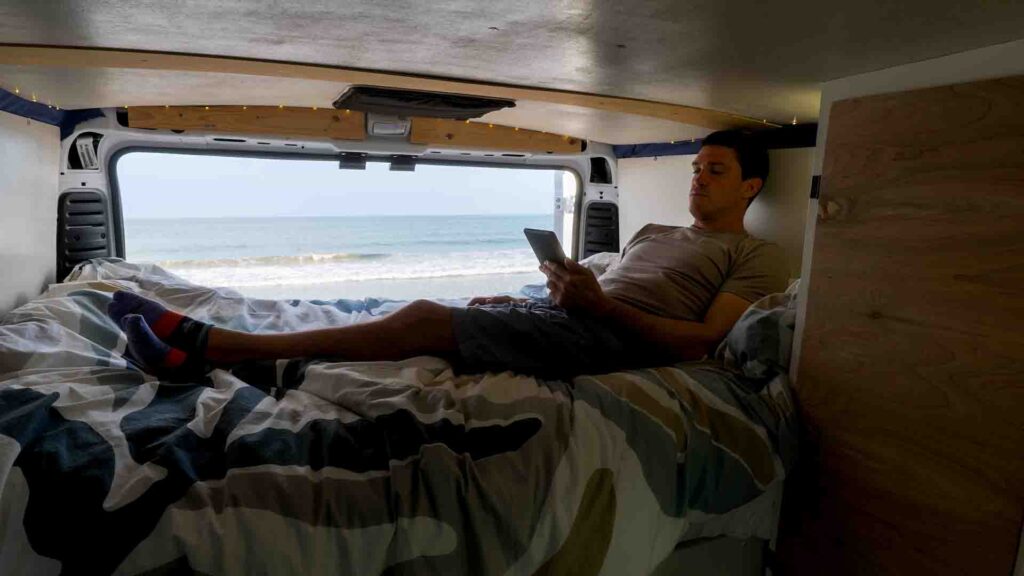
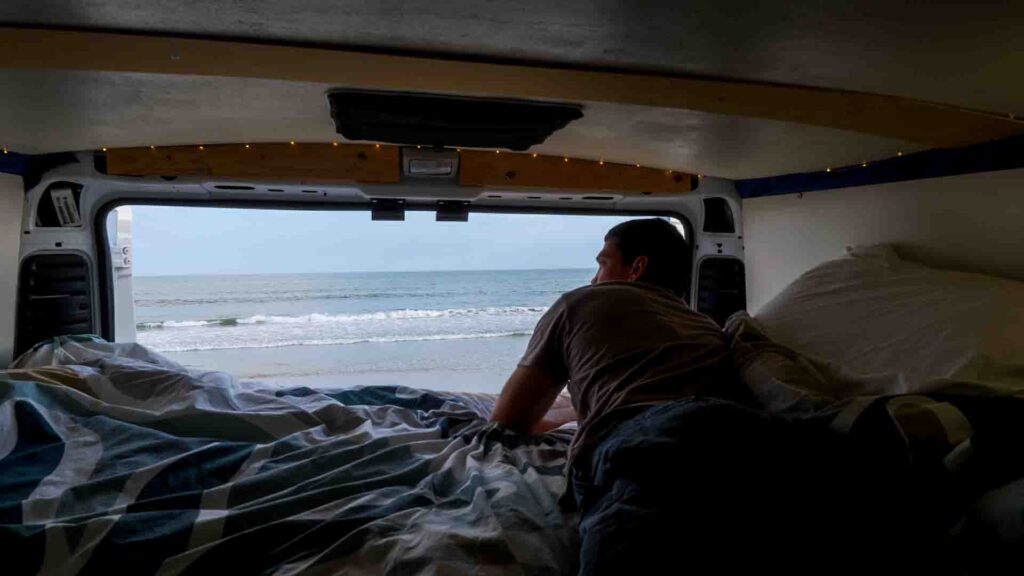
The bed is obviously one of the most important parts of any camper van. I wanted a comfortable bed and a real memory foam mattress in the build. My bed is slightly smaller than a traditional full. It’s 48″x72″. I also have a topper on it to make it extra cozy!
My bed setup:
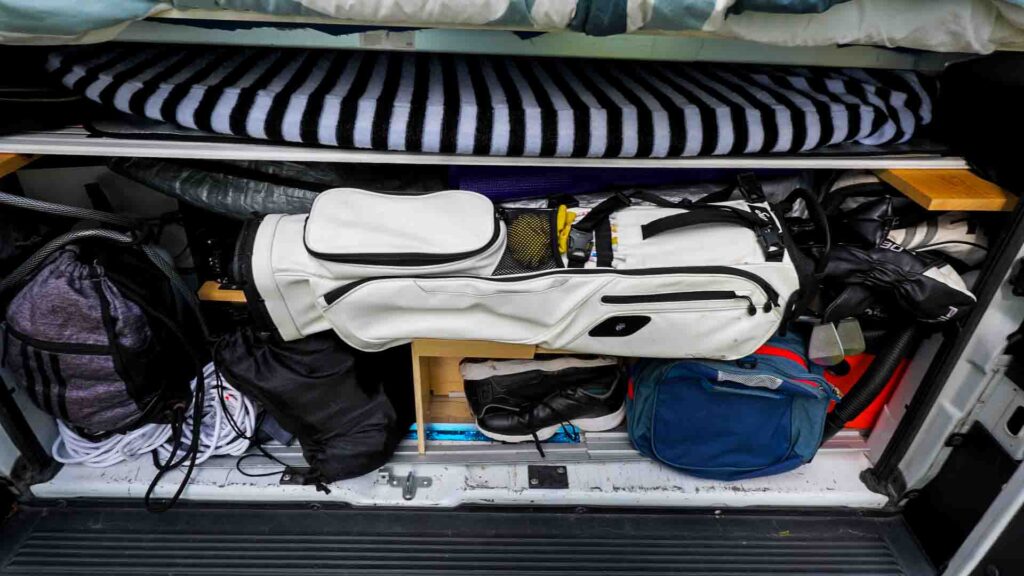
The bed is built using Skorva bed rails by IKEA. I attached blocking to the walls of the van. This allows for a suspended bed with tons of storage underneath. The east-west style bed was a crucial part of the design and a huge reason why I chose the ProMaster specifically. I wanted to be sure to have space for my gear underneath without sacrificing my living space up front. I can fit all my surfboards under the bed along with my entire power system, off grid air conditioner, golf clubs, and still have room for my tools!
How Much Did My Ram ProMaster Camper Van Build Cost?
The total cost of the build included the materials, equipment, appliances, electrical components, and other parts that went into the conversion. I try to break everything down into categories below.
Approximate Costs
- Batteries, Electrical, & Solar Power System – $2600
- Lumber, Insulation, & Hardware for Ceiling & Walls – $1300
- Velit 12 Volt Air Conditioner – $1650
- Flooring (Subfloor, LVP, Sound Deadening) – $400
- Lumber for Cabinets & Storage – $430
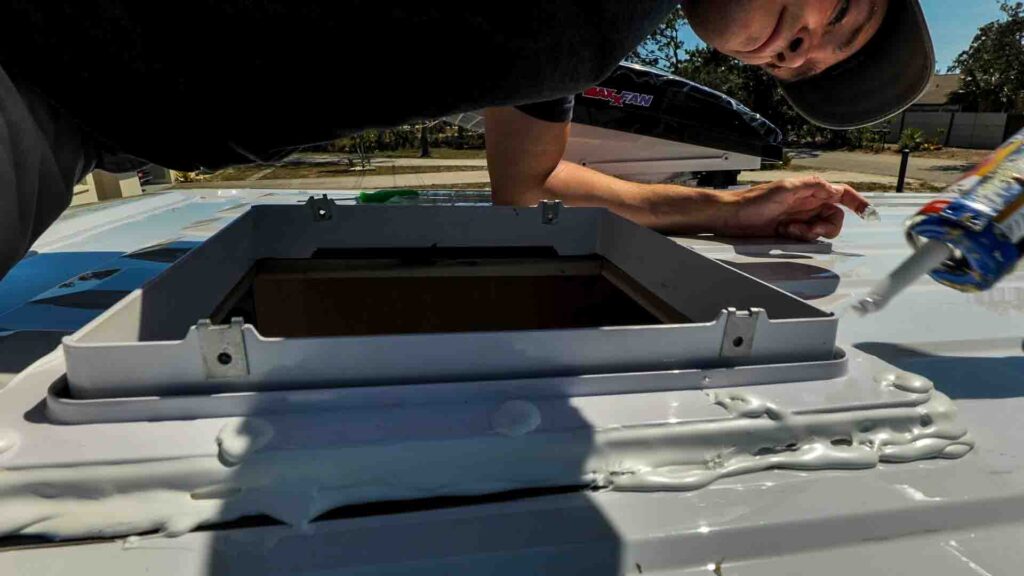
- Roof Vent & Installation Components – $515
- Paint & Trim – $175
- DIY Roof Rack – $300
- Bed Setup – $560
- Random Tools & Misc. – $200
Total Material Costs – $8100
Material Cost Estimate with Recent Updates – $9500
Additional Resources
Walls & Ceiling
Electrical Details
- Battery Cables
- 4 AWG Wiring
- 6 AWG Wiring
- 10 AWG Wiring
- 14 AWG Wiring
- Circuit Breaker
- 12 Volt Fuses
- Ring Terminal Kit
- My Favorite Crimping Tool
- Wire Strippers
- Heat Shrink Gun
Window Covers & Insulation
What I Would Do Differently After One Year
After more than a year of actually living and traveling in this Ram ProMaster camper van, there are really only a few things I’d change. The first would be lowering the bed slightly to give me more headroom when I’m sitting up in bed. It’s a small change, but having a little more room above my head would make the bed area feel even more comfortable.
I’d also rethink the desk. While having a dedicated workspace has been useful, I’d probably replace the current desk with a bench-style setup. That would open up more of the interior and, more importantly, let me sit facing the sliding door when I’m parked somewhere with a great view. Finally, I’d probably eliminate the MaxxAir roof fan and use that roof space for additional solar or a rooftop AC unit. I almost never use the roof vent fan, so after a year of living with the van, that space could be put to better use.
Beyond those few changes, I still love almost everything about this van. The Ram ProMaster camper van is nimble, comfortable, easy to drive, has a great turning radius, and fits into just about any normal parking space. It’s also remarkably fuel efficient for a camper van, I’ve occasionally seen more than 23 MPG on the highway. Those characteristics make a huge difference when you’re using a van not just for occasional trips, but as a vehicle you actually live and travel in.
After building and using several different vans over the years, this might be the best fit I’ve found for me. It’s compact enough to be practical without feeling cramped, comfortable enough to spend extended periods inside, and capable enough to take me just about anywhere I want to go. A year later, there are certainly things I’d change about the build, but the van itself has turned out to be an incredibly good match for the way I travel and live.